Buy this exact design
How to Make Any Image Print-Ready (Free Upscaler) — ready to ship
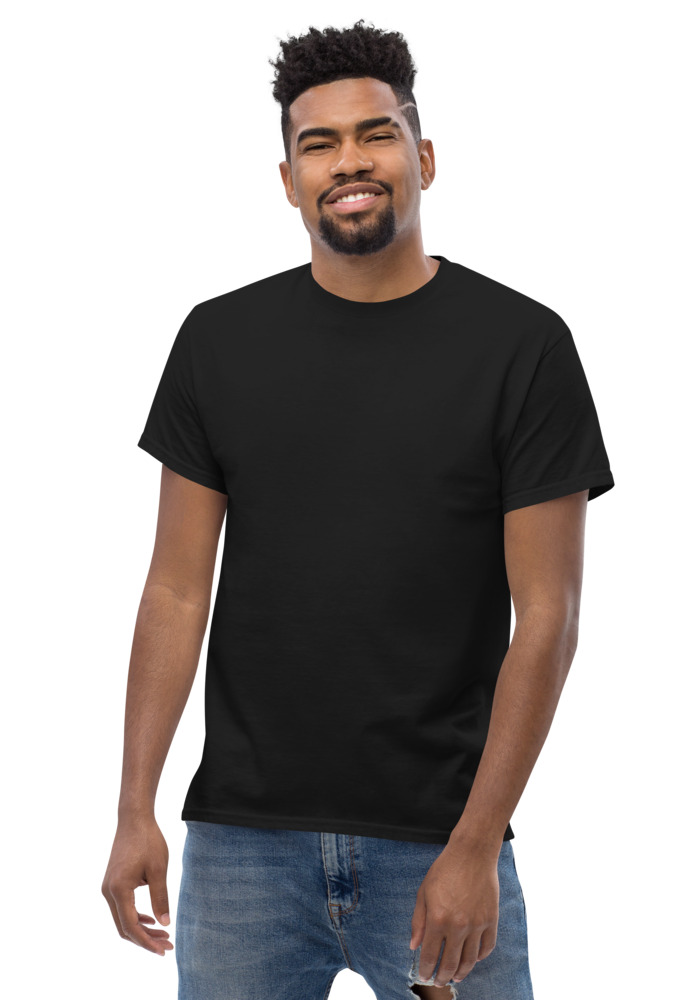
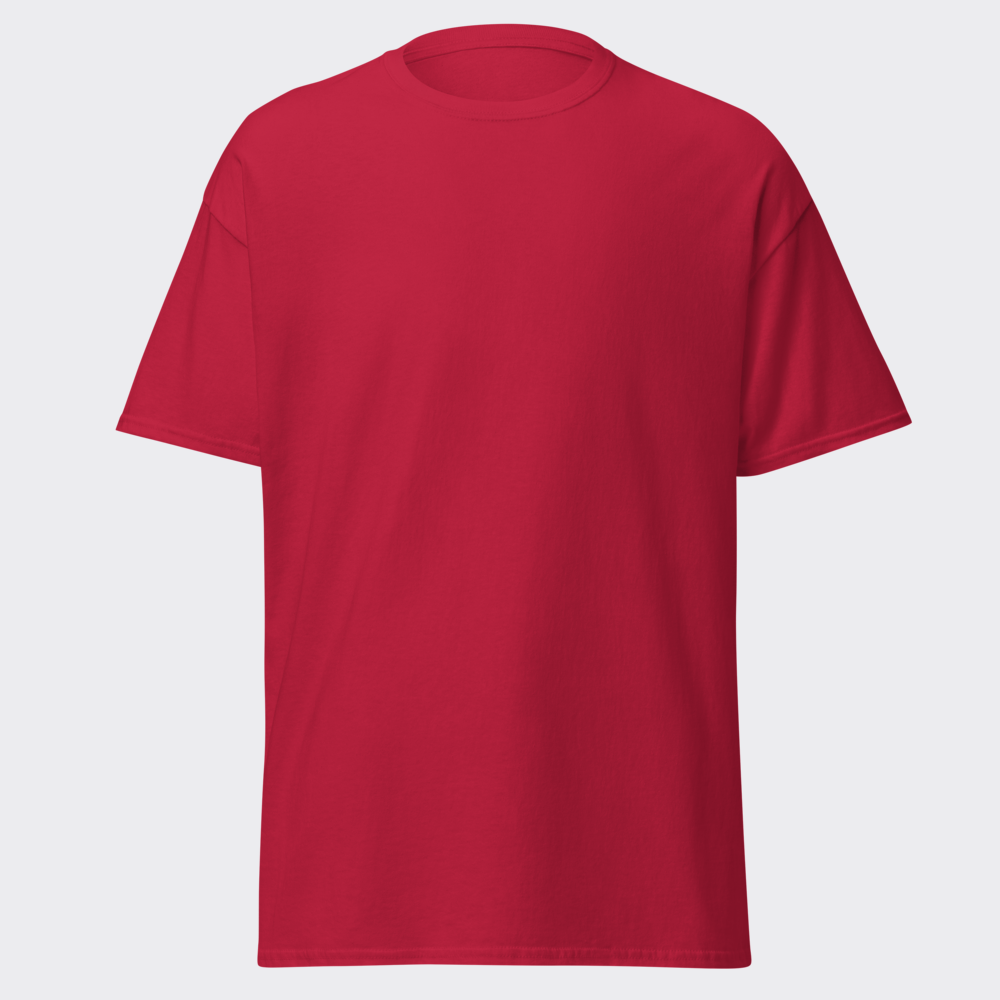
Preview · your design on a Black tee — the real blank
Ships in 5–9 days · Pay-in-4 available for eligible US orders at checkout
Design it right now
Classic Tee — with YOUR design on it
Upload art, type text, or let the AI design it — live preview, no minimums, from $24.99.
🎨 Put my design on this →
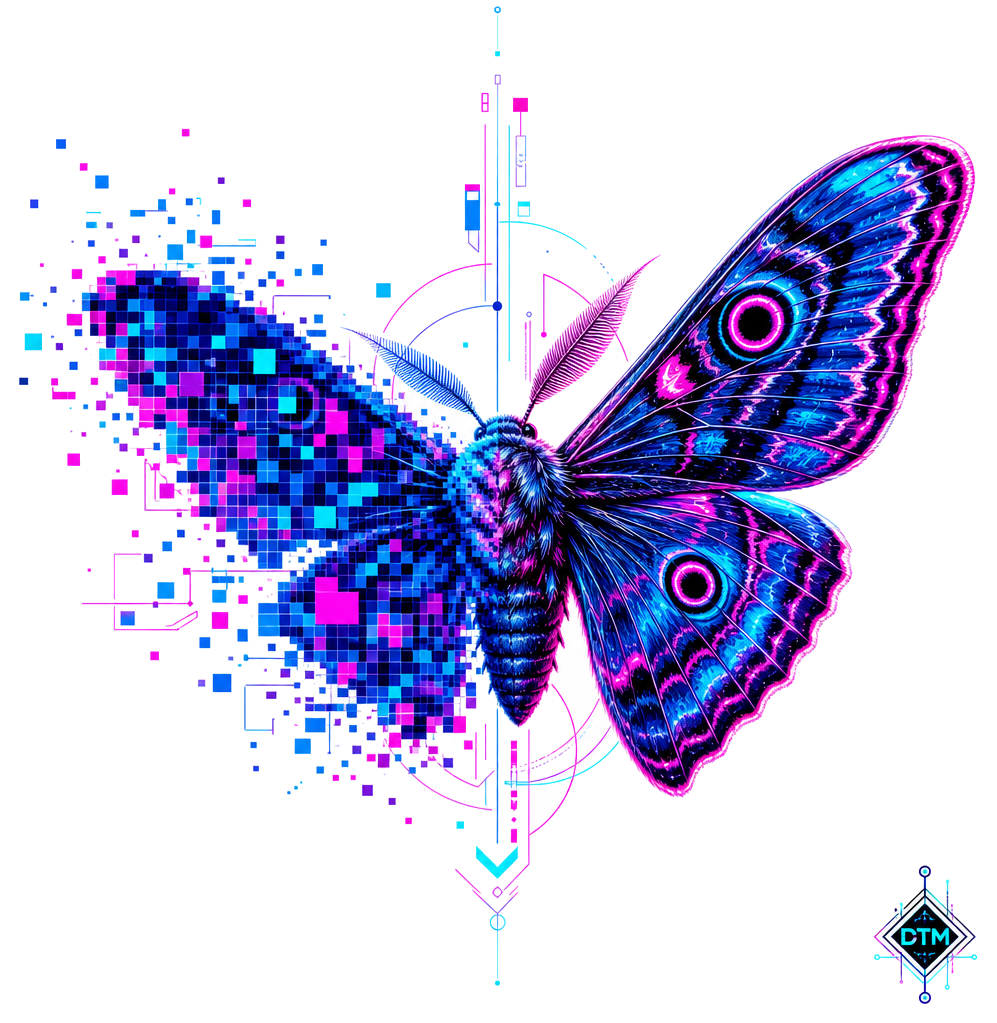
This design, ready to go
Get it on the Classic Tee — $24.99
Opens in the builder with this design placed — buy as-is, tweak the text, or swap the garment.
🛒 Customize & order this →Split eligible US orders into 4 interest-free payments with Shop Pay · No minimums · Ships in 5–9 days
Gildan 5000 · 100% cotton · 5.0–5.3 oz/yd² (170-180 g/m²) · blank sourced from Honduras · printed in the USA network · ships 5–9 days
It's the most common wall in custom merch: you have the perfect image — your logo, a photo, art someone made you years ago — and it's too small to print. On screen it looks fine. On a shirt it would come out blurry, jagged, and unmistakably "printed from a screenshot." Here's why that happens and how to fix it in about a minute, free. Ready to order? t-shirt maker, real shirts with no minimum.
Why screen-fine images print badly
Screens are forgiving. A 500-pixel-wide logo looks sharp on your phone because your phone is small and backlit. Print is not forgiving. A quality shirt print wants roughly 150-300 DPI — dots per inch — at the actual printed size. Do the math on a 12-inch-wide chest print and you need an image around 1800-3600 pixels wide. That 500-pixel logo? At 12 inches wide it's printing at about 40 DPI. Every pixel becomes a visible square. That's the blur.
The usual suspects for too-small images: logos pulled off your own website, screenshots, images saved from Instagram (which compresses hard), old files where the original is long gone, and anything that arrived through a messaging app that "optimized" it.
The fix: AI upscaling, and why it works now
Old-school upscaling just stretched pixels — bigger blur, same problem. Modern AI upscaling actually reconstructs detail: it recognizes edges, text, and shapes, and redraws them cleanly at higher resolution. A soft, jagged logo edge comes back crisp. It's the difference between enlarging a photo of a drawing and having the drawing redone bigger.
How to use the free upscaler
- 1. Upload your image to the free upscaler. Logos, artwork, graphics — whatever you've got.
- 2. Let it rebuild the resolution. The output comes back at full print quality, ready for a large chest or back print.
- 3. Drop it straight onto a product. The result feeds directly into the builder — preview it on a tee, long sleeve, crewneck, hoodie, or crop and zoom in on the preview to check the edges yourself.
No sign-up, no watermark, no "pay to download the good version."
Honest limits (so you don't waste a print)
- Upscaling recovers detail; it doesn't invent what's destroyed. A slightly-soft logo comes back sharp. A 100-pixel thumbnail smashed by three rounds of compression will improve but may not reach billboard-clean. Start from the best copy you have.
- Text is the acid test. Zoom in on lettering after upscaling — if the letters are crisp, the whole print will be.
- Busy photos are harder than graphics. Logos and flat art upscale beautifully. Dense photos do well but check faces and fine texture up close.
- Sometimes regenerating beats rescuing. If the image is truly gone, the free AI design generator can produce a fresh print-ready version of the idea — and the logo maker can rebuild a lost logo from the name alone.
The one-minute pre-print checklist
- Upscale the best original you can find.
- Zoom the preview to check edges and any text.
- Preview on the actual garment color you're ordering — light art vanishes on white, dark art on black.
- Then order with confidence.
That image you've been telling yourself is "too low quality to print"? It's probably one pass away from print-ready. Run it through the free upscaler and see.
See the merch in real life
Real garments, printed and embroidered to order.
Frequently asked questions
Is the upscaler free?
Yes — part of the free tools hub, no sign-up required.
What images can it fix?
Small logos, screenshots, old artwork — anything too low-resolution to print cleanly. It rebuilds the detail so edges stay sharp at garment print size.
What happens after upscaling?
The print-ready result drops straight into the builder — preview it on the real garment photo and order, no minimum.
What resolution do I actually need for shirt printing?
The standard target is around 300 DPI at the final print size, which for a typical 10 by 12 inch chest print means roughly 3000 by 3600 pixels. Anything saved for the web at 72 DPI is only carrying about a quarter of the pixel density print needs, which is why web logos look crisp on screen and fuzzy on fabric. If your image falls short, an AI upscaler can multiply the pixel dimensions and rebuild edge detail so the file genuinely meets print resolution rather than just being stretched.
How does AI upscaling actually work?
Instead of stretching existing pixels the way basic resizing does, an AI upscaler has been trained on millions of high-resolution images and learned what edges, textures, and shapes look like at full detail. When it sees your low-res file, it predicts and generates the missing pixels, reconstructing a crisp line where a blurry one existed. The result is a file that behaves like a native high-resolution image at print time, which is why upscaled logos come out sharp instead of soft.
Why does my image look fine on screen but blurry when printed?
Screens are forgiving because they display images at low pixel density and usually smaller than print size, so a 600-pixel-wide logo looks perfect in a browser. Printing that same file across a 10-inch chest area stretches each pixel to many times its intended size, and every jagged edge and compression artifact becomes visible. The fix is more real pixels, either by finding the original high-res file or by running the image through an upscaler before printing.
Is AI upscaling better than just enlarging the image in an editor?
Yes, meaningfully. Traditional resizing uses interpolation, which averages neighboring pixels to fill gaps, and averaging always produces softness, so you get a bigger but blurrier image. AI upscaling recognizes what it is looking at, a letterform edge, a line of artwork, a texture, and redraws that detail at the new size. For logos and graphic designs headed to fabric, the difference between the two approaches is usually the difference between a sellable print and a fuzzy one.
Can an upscaler fix a screenshot or a logo saved from a website?
Usually, and often dramatically. Screenshots and web-saved logos are the classic use case: they are clean designs trapped at low resolution, which is exactly the problem upscalers solve best since the AI can confidently rebuild sharp edges and flat colors. The limit is source quality: if the file is extremely tiny or crushed by heavy compression, some fine detail may be unrecoverable and could come back slightly smoothed. Start with the largest, cleanest version you can find, then upscale from there.
Design it right now
Classic Tee — with YOUR design on it
Upload art, type text, or let the AI design it — live preview, no minimums, from $24.99.
🎨 Put my design on this →This design, ready to go
Get it on the Classic Tee — $24.99
Opens in the builder with this design placed — buy as-is, tweak the text, or swap the garment.
🛒 Customize & order this →Split eligible US orders into 4 interest-free payments with Shop Pay · No minimums · Ships in 5–9 days
Or start with the art: free AI design tool + all free tools →